It is that time of the year again – yes, the time when we step into party shoes and put our best foot forward. However, this year why not put your best hand forward! We have got an exciting nail art DIY tutorial for you which would be just perfect for Christmas.
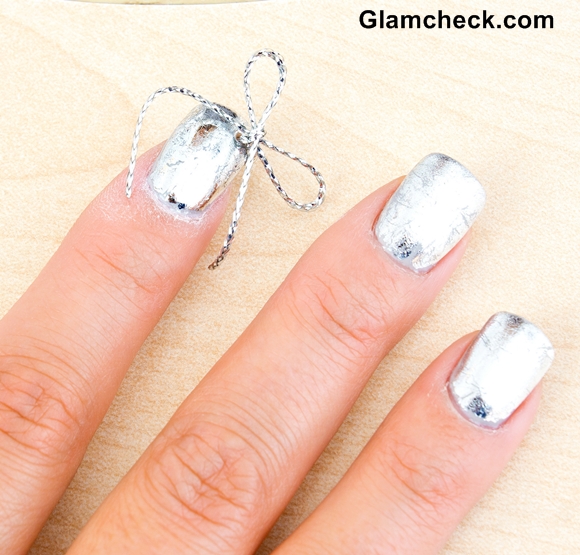 Silver Nails with Bow detailing for Christmas
This nail art is best done on nail extensions/fake nails as it involves a piercing step which, if not done properly, may crack your own nails. Also, longer talons will make the nail art more prominent.
Nail Art Items Needed: Nail extensions, silver foil cut in square pieces, nail glue, nail scissors, needle, lighter and silver foil thread.
- The first step would be to ensure that your nail extensions are in place.
 Christmas nail art – silver nails
- Take the square pieces of silver foil and attach to your nail with the help of the nail glue. Snip away the edges that extend beyond the nails with a nail scissor.
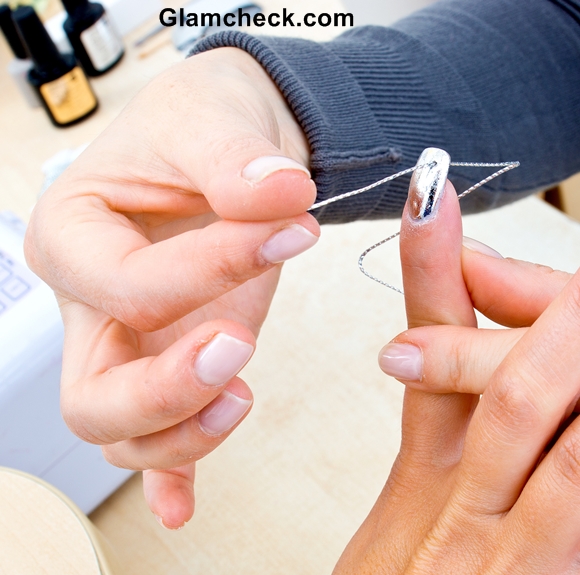 Christmas Pierced Nail Art
- Make a nail piercing on the nail with the help of a heated needle. In order to do this, heat the thin point of the needle over a lighter. Once it is hot, use it to make a piercing on the top of the nail by pressing the needle against the nail and twisting and turning it around. Ensure that the needle is atleast 1 millimetre away from the tip of the nail to prevent the latter from cracking. Once a hole has been made, push the needle all the way through the hole and then pull it back up, to open the piercing wider.
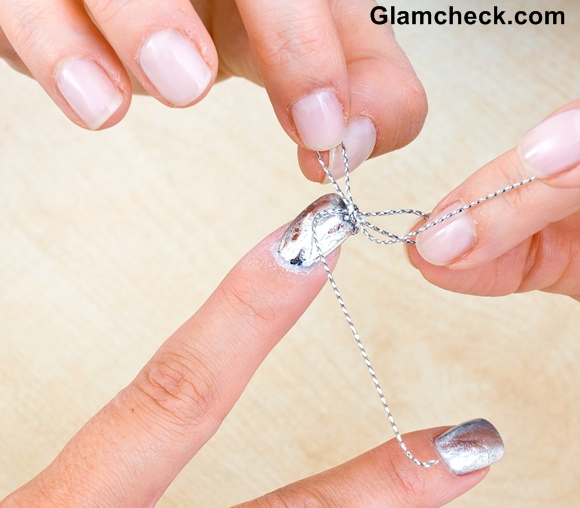 Bow Nail Art for Christmas
- Take the thin silver foil thread and put it through the piercing, and then make a neat bow out of it.
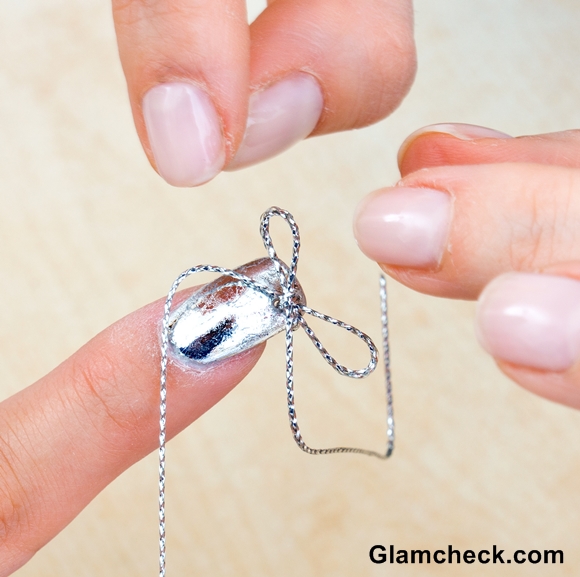 Bow Nail Art DIY for Christmas
- If you are not comfortable with the above two steps, or don’t want to use nail extensions or have short nails then simply make a bow with the silver foil thread, and then paste it on the corner of the index finger’s nail.
It is Christmas time so let’s get those nails wrapped and tip them off with a pretty bow. Consider it your gift to yourself, all gift packed!
Image: Shutterstock
