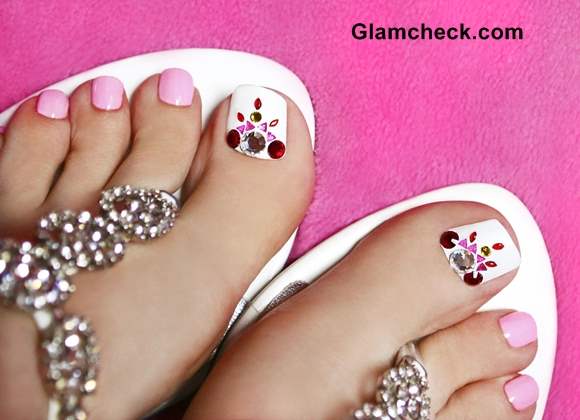
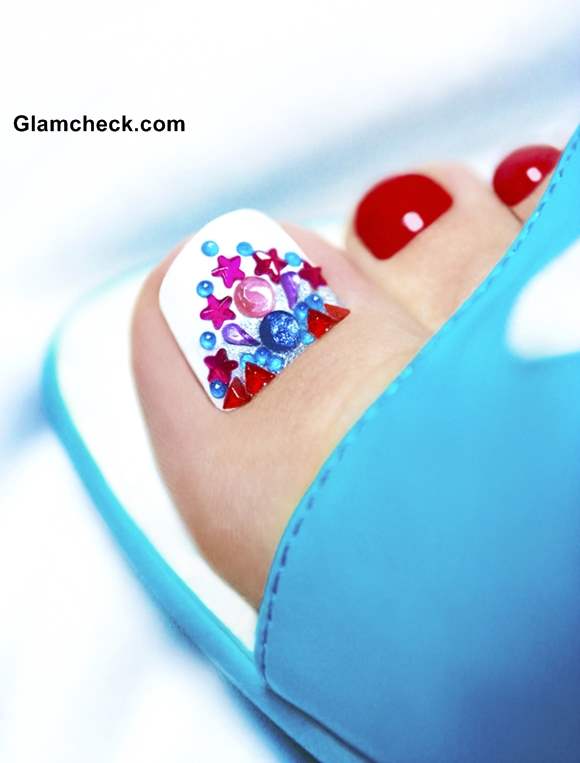
Ah! The bling of crystal encrusted nails. Can you let them pass un-noticed or without sighing and wanting them yourself? No girl can, we know. With the award season which began a few months ago, the focus was on the garments for sure, but celebrity manicures and pedicures too made headlines. Be it the MET Gala with everyone from Emmy Rossum to Blake lively arriving with crystal encrusted nails or Vanessa Hudgens instgramming her silver embellished manicure, the stars have made us take notice of the trend even more.
But are crystal nails fit for everyday? Do they especially fit inside the lifestyle of the regular women who have jobs, chores at home and run errands too. Well, practically unlikely. But does that mean you can’t wear the trend. The answer is Yes you can! The answer is a crystal pedicure. And trust us its simpler to do on yourself than a manicure of course. There are two ways to do it – with and without nail glue. We will discuss both.
 How To Do a Crystal Nail Art Pedicure at Home
Things you will need
- Nail cutter and filer
- Base coat for the nails
- Nail paint of your choice – Natural or Colored
- Nail Glue (Optional)
- Clear Top Coat for Nails
- Tooth Pick / Wax crayon
- Fine tweezers (To pick up lost crystals)
- Flat Base crystals in any shape and color you want.
Steps to Crystal Pedicure
The first step for the pedicure will definitely be to think of a design. Sketch it roughly on a paper if required. To help you out and set your imagination running, we have included some pictures showcasing different designs. You can choose to decorate only your thumb with the crystals or other toe nails too. You can also choose to highlight the thumb with another color. Let your creativity guide you. We personally love using different shapes and colors to create unique interesting patterns.
 Crystal Nail Art Pedicure DIY
- Start with cutting your nails in shape and filing them.
- Apply a base coat on each nail and let it dry.
When using Nail Glue
- Apply two coats of nail color on each of your nails and let it dry.
- Working on one nail at a time, apply a moderate coat of nail glue to the area where you would be sticking the crystals.
When NOT using Nail Glue
- Apply first coat of nail color on your nails. Let it dry.
- Be ready with your equipment, and apply the second coat of nail color, one nail at a time. You would be using the wetness of the nail paint to stick the crystals. Being quick is the key.
The below steps will remain same in either case.
 Crystal Nail Art Pedicure How To
- Place a little amount of clear top coat on a cardboard or any such place.
- Dip the tip of your toothpick in it, so as the crystal will temporarily stick when you pick it up. Alternately another way of picking up a crystal is with a wax crayon. The second method is less messy, but do try whichever you feel most comfortable with.
- Place the crystals, one by one, as per the design that you have decided.
- Repeat for other nails.
- If you were using glue, then apply it carefully to the edges of the crystals for an even better hold.
- Finish with a clear top coat, which will seal your crystals further.
Precautions
- This pedicure may take upto 2 hours to dry. Be careful with it so as to save all your hard work.
- After this pedicure, frequent peep-toes, sandals and the like to make it last longer.
- If you were applying glue on the edges of the crystals, be careful as some crystals loose shine when if glue gets applied on top instead of the edge.
- If you lose any crystal in the middle of the manicure, you may have to re-apply the nail color for neatness.
Hope you are inspired and excited enough to try this pedicure at home with the simple tips we gave. If you do it well, a lot of compliments are just a pedicure away.
Shutterstock
