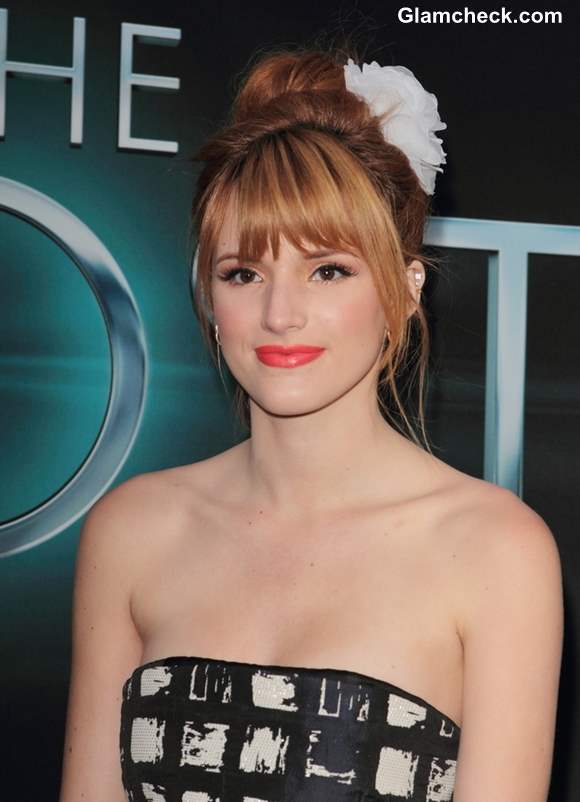
We love the oh-so-sophisticated ballerina bun and youthful makeup that actress Bella Thorne sported as she attended the Hollywood premiere of “The Host” at the Arclight Hollywood Cinema Dome in Hollywood, California on March 19.
 Bella Thorne Elegant Ballerina Bun Hairstyle 2013
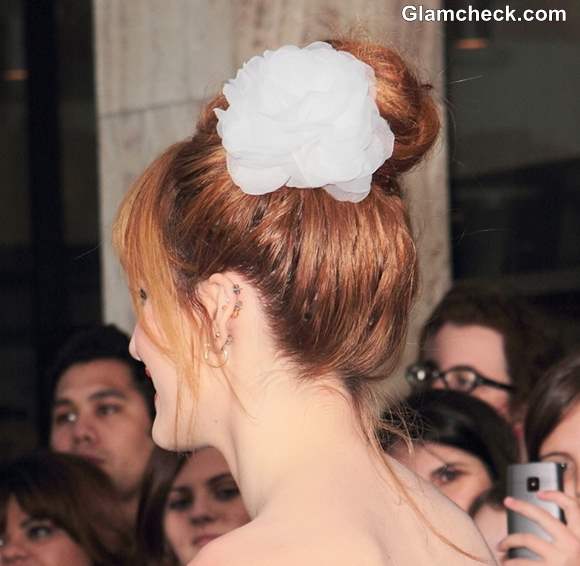
The hairdo was so effortless! The bangs on her forehead added to the charm. And the white floral hair accessory was delightful.
The ballerina bun can be worn with almost anything. It stylishly adds inches (without hurting your back like a pair of heels would), looks chic with daily wear as well as an evening gown and is quick to create – once you know how to do it, anyway. So let’s get you there.
 Bella Thorne’s Elegant Ballerina Bun Hairstyle
Always work on clean hair – shampooed, conditioned and dried. It’s a good idea to apply some kind of leave-in serum which will impart a shine before you start working on the do.
- Flip your hair upside down and brush it into a ponytail high on your head. Secure with a rubberband.
- Flip hair back up. You now have a ponytail sitting high on your crown. Take it between your fingers and loosely twist it round and round the middle of your ponytail to form a bun shape. If you want some texture, you can twist the ponytail more tightly (like noodles on a fork).
- Once the bun is made, use bobby pins to secure the loose ends in place. Add a hair accessory of your choice only after the bun is secure.
- Use hairspray – something that is made for a stronger hold – so that the shape stays consistent.
If you want Bella’s bangs, well, you’re going to have to get your hair cut that way first. Then after your bun is up, use a brush to smoothen your bangs down over your forehead and shape those tantalising wisps around your face to make them appear ‘accidental’.
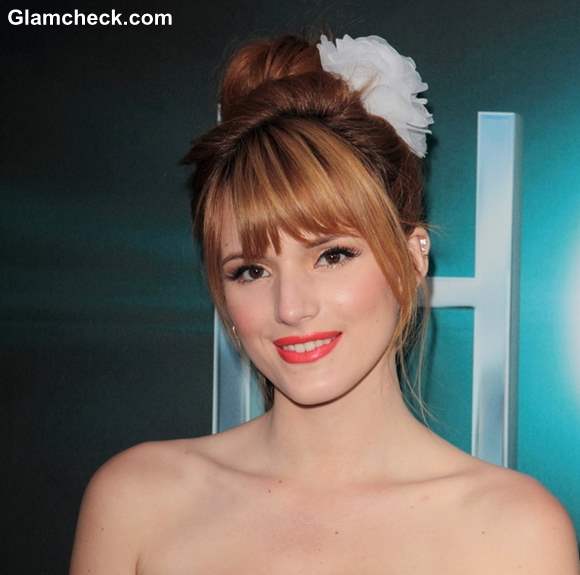
 Bella Thorne Orange Lips 2013
Bella’s makeup played an integral part in the success of her look. She sported an orange lipstick with mascarraed and lined peepers.
- Once you have cleansed, moisturized and applied foundation on your face, whip out your eyelash curler and squeeze over you lashes for a few seconds each. If you don’t have an eyelash curler, make sure you have a volumizing or super-curling mascara. The trick to this look lies in the sparkle imparted by the curled lashes so once you have that, half your work is done.
- Next, use your black liner and swipe it over your upper eyelid, starting from the inner corner and moving outward. Toward the end, allow the liner to go just slightly outside the line of your natural eye shape. This will give it length without extending all the way to a cat’s eye sweep.
- Your lipstick is the next step. You can pick a shade that is the same color as your hair accessory. Or you can pick a shade that has similar accents somewhere in your ensemble like your nails or shoes. Whatever your choice, make sure it is bold but elegant.
- Finish off with a very gentle dusting of blush on the apples of your cheeks.
Now put on your brightest smile, head out the door and have a good time!
P R Photos
