First off, the day shouldn’t start before we rub off some holiday cheer onto you and wish all you readers a Merry Christmas. The home must be up with decorations and the Christmas tree laden with stars, gifts, snowflakes, bells and balls.
You are maybe all prepared, with your attire in mind, to attend a party or maybe host one. Amidst it all, if you forgot to pay attention to a small detail that we call nails, we don’t blame you.
But Glamcheck is definitely here to help and inspire you to sport some Christmas nail art. Choose a style according to the level of skill you are comfortable with.
Level: Easy
Red Rhinestone Nails
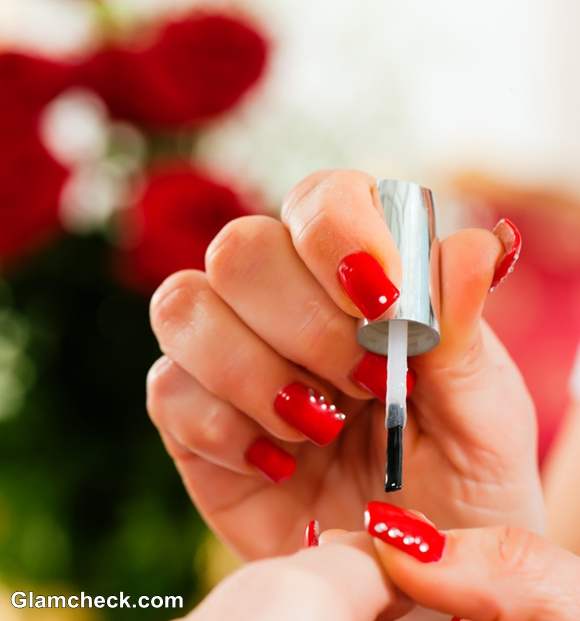 Christmas nail art
- The pre-requisite to any nail art is nails filed to perfection. Make sure you cut and file them first.
- Choose a feiry red nail paint and apply a base coat neatly.
- Apply the topcoat and while its still wet, pick up the rhinestones and press them on. You could place them in a line or single ones, experiment and don’t worry about symmetry.
- Apply a clear high gloss coat on top.
Tip: Use a plucker to pick rhinestones or a matchstick end dipped in nail paint.
Christmas Colors Nail Art
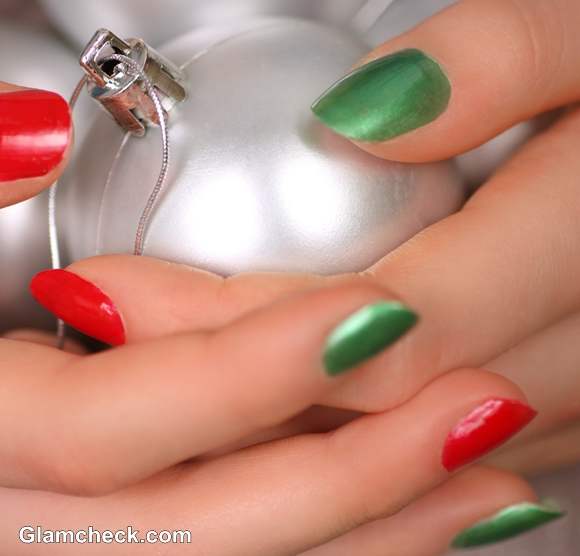 Christmas nail art ideas
- Now this one is fairly simple. Alternately apply a Christmas red and a Christmas green to your nails.
- Remember to finish with a glossy top coat.
The Christmas Tree Nail Art
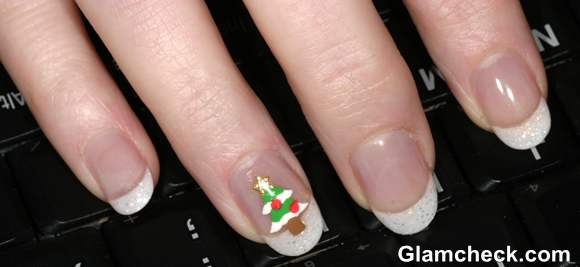
- Apply white nail paint to your tips, French manicure style.
- Top the tips with a silver glitter coat.
- Using a nail paint pen in different colors, you can draw the tree onto your index finger nail just like you draw on paper.
- Otherwise Water decals for a Christmas tree are also available in the market. To apply, wet a towel and place the water decal on it.
- Pick it up carefully with a plucker and place on your nail. Finish with a glossy top coat on all nails.
Christmas art with artificial nails
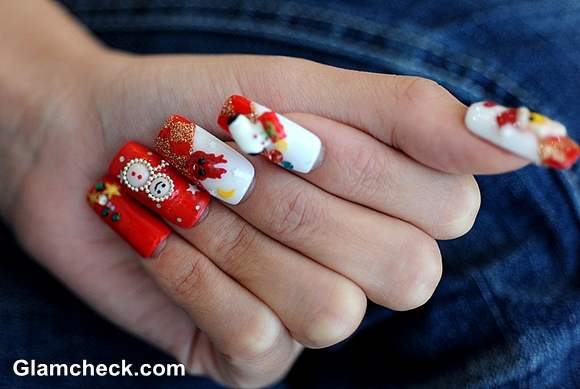
- The market is full of intricate nail art on fake nails for Christmas and it is indeed a beautiful idea.
- Cut your nails short first and file them. Push back your cuticles properly afterwards.
- Apply the nail glue onto the fake nail, and stick it as closely fitted to your cuticles as possible.
- Press carefully and firmly.
Tip: Before applying them test them on without glue and place it in order of the fingers.
Level: Medium
Accessorized artificial nails
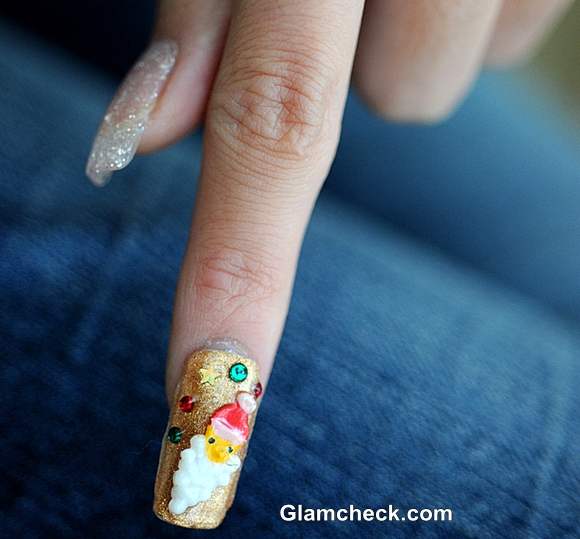
- With the method described above first stick fake nails to your natural ones. This time they would be natural looking nails.
- Alternately apply gold and silver nail paint on the nails. After cutting them to desired length.
- Top Silver nail paint with silver glitter and gold with golden glitter.
- Stick some rhinestones onto the gold nail with the method explained on top. Also add a Santa accessory. If sticking it is a problem, you can always use a little nail glue.
- Top with a clear gloss top coat.
Multi-colored striped Nail Art
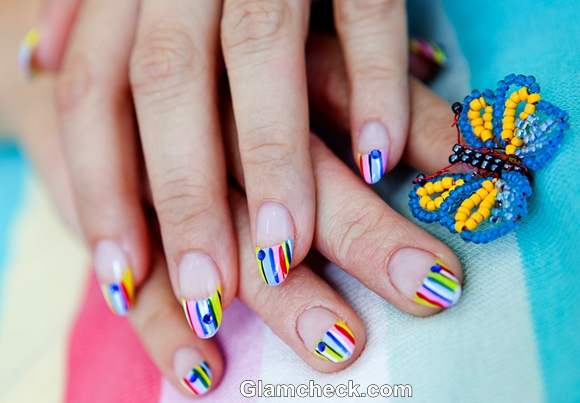
- Apply white nail paint to tips of nails like French manicure.
- Using colored nail paint pens or a thin brush if you are comfortable, draw stripes on tips in the colors yellow, red, blue and pink. Repeat for all nails.
- Top off with one blue rhinestones on each nail. Apply clear top coat for protection.
Intricate flowers on clear nails
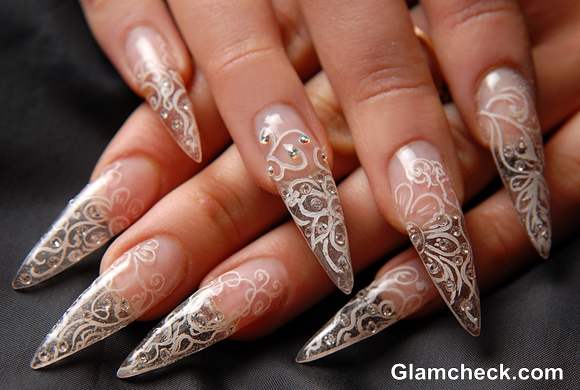
- This time around choose pointed fake nails and stick them onto your natural ones, via the method described earlier.
- With a nail paint pen or brush make intricate flower patterns onto the nails, in the color of the snow- white.
- Stick rhinestones on top and use a little nail glue, since it is only an artificial nail you would stick onto. Finish with glossy top coat.
Snowflake Nail Art with Glitter
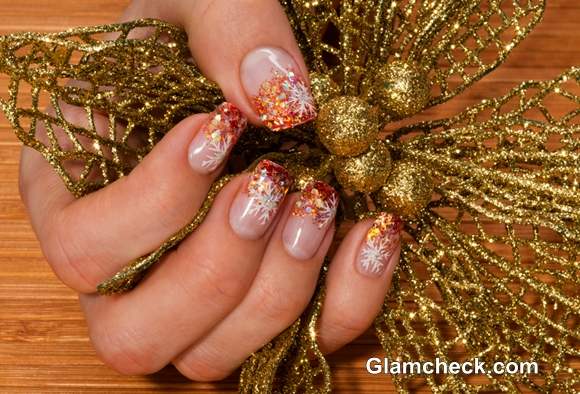
- Trim your natural nails well and file them in a straighter shape.
- Start by applying dabs of maroon nail paint on the top of nails. Then yellow and some gold and silver glitters. The effect would become paintbrush like.
- Take a fine brush or nail paint pen and draw a snowflake. Draw the asterisk sign from your keypad first and then detail it further to make a snowflake.
- Apply clear top coat.
Level: Advanced
Glitter Ripples
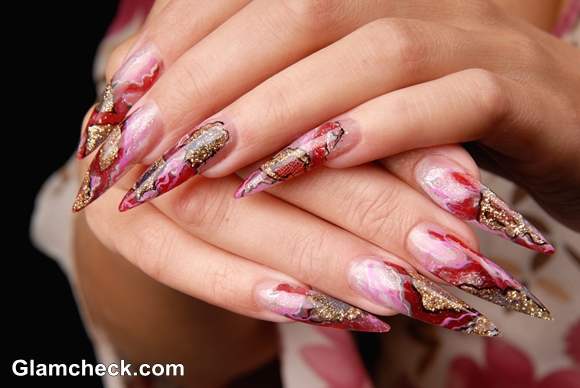
- Stick pointy artificial nail to your natural nails.
- Apply a base coat of pink.
- Create patches of red and gold getting inspiration from ripples.
- Top the all the gold patches with golden glitter and the red patches with silver glitter at places.
- Outline the patches with black and white nail paint pens or brushes.
- Also draw some very fine white intersecting lines to form checks on some red patches.
- Protect with clear top coat.
Artistic Graffiti Nails
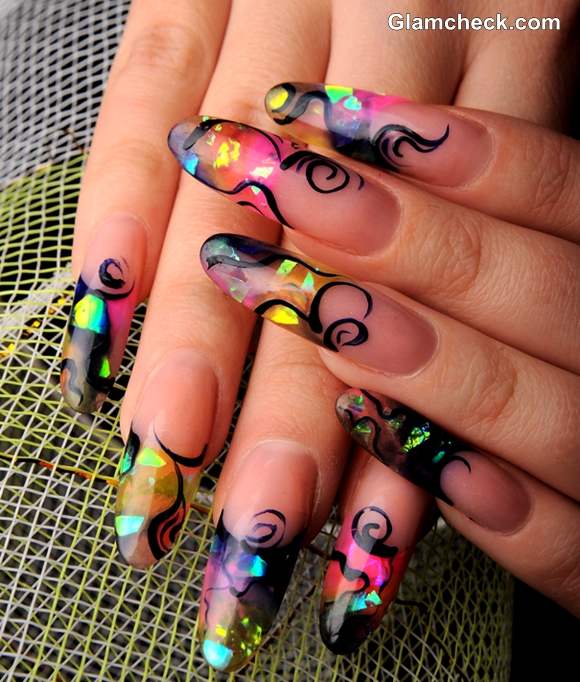
- Stick long and curved artificial nails.
- Use a different base coat for each of the nail tips – yellow, peach, pink or olive green. You could also mix two base coats into each other, on a single nail while applying.
- The trick now is to paint random patches of paired colors – cobalt blue and turquoise, yellow with sea green, black and violet, dark pink with light pink.
- Paint/ draw some curved patterns on top, taking inspiration from picture.
- Finish with colorless high gloss top coat.
Galaxy Glitter Nails
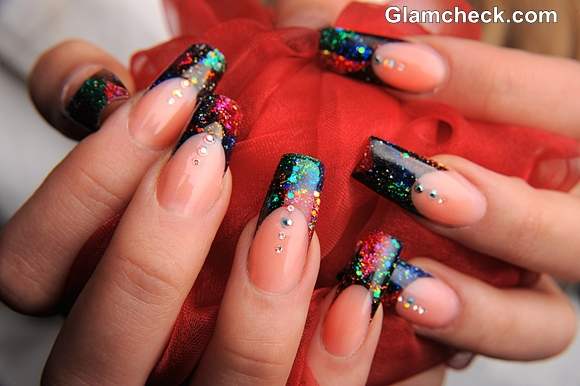
- Stick long and straight artificial nails.
- Paint the tips black, finishing the paint in an inward curve.
- Once dry, apply tiny dots and patches of red, pink, turquoise, purple and yellow. Remember the Milky Way galaxy dotted with stars while creating this one.
- Apply silver glitter onto the tips.
- Stick rhinestones with nail glue, in a row pointing from the tips to cuticles. Clear top coat necessary.
Paint me Red Nail Art
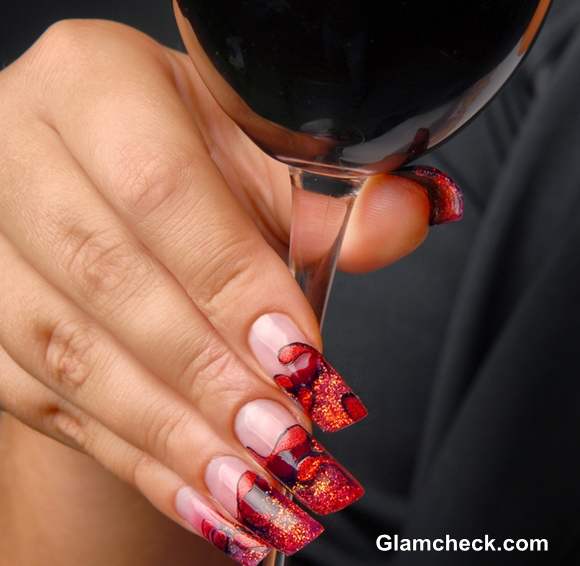
- Stick long curved artificial nails on.
- Stick red base coat to nail tips. Add pink maroon and red patches. Paint them like sandwiched waves.
- Apply golden glitter as top coat on the tips.
- Outline the layers with black. Colorless Clear top coat in the end.
Hence choose a style to compliment your attire right. This fashionably creative way of celebrating Christmas can become the talk of the town.
Shutterstock
