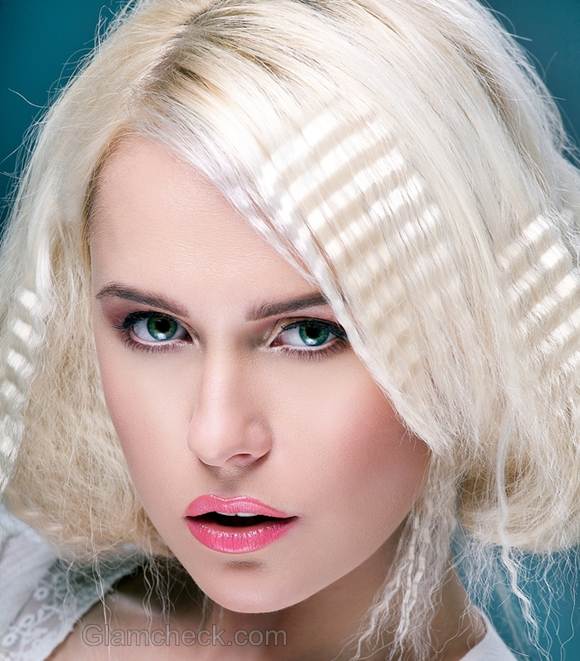
Remember Barbara Streisand with her crimped hair from back in the 70s? A popular style then, it keeps on getting revived cyclically ever so often. The sheer volume and wildness that this look portrays has often made it a hairstyle of choice for many pop stars including Madonna too.
 Heavy crimping with volume can get you through a rock / punk mood, and gels extremely well with a pair of leather boots. A softer crimp can bring out a more romantic you, in a beautiful summer dress. And if you instead opt for deeper wave like crimps, it complements an evening out in an LBD very nicely, keeping the focus on your face and the gorgeous texture of your tresses.
Enticed enough to give the look a shot? Well, there is good news since you can go about crimping your hair in more than one way.We discuss below three ways, so read on.
Braiding
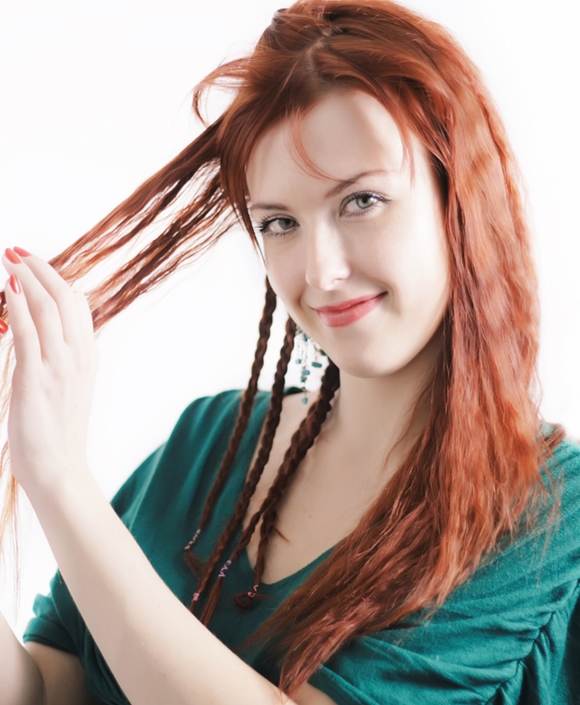
 The earliest way to crimp was braiding. The process is still used today since crimping through heat treatments regularly can leave your hair somewhat damaged. The steps are easy:
Step 1: Wash your hair. Dab with a towel to stop the water from dripping, but let your strands remain damp.
Step 2: Use a wide tooth comb to remove any tangles.
Step 3: Section your hair and tie up the top half. Starting from the bottom, start taking small portions of hair and tie them in a braid and secure with rubber bands. Braid whole of your hair this way, the final result being multiple braids through out your mane.
Tip: Make sure the braids are not loose as it would not give a proper crimping effect later.
Step 4: Let the hair stay this way for a couple of hours till they air dry themselves naturally.
Step 5: When completely dry, open each braid and lightly comb your hair with fingers only. Apply a volumizing spray if it is required or just a hair spray if you are happy with the volume.
Crimping Iron / Hair crimper
Geri Cusenza (co-founder of Sebastian International) used the above method for Barbara and found it too tedious. Set out to find an easier way, it gave birth to the crimping iron and also to Sebastian International.
It definitely made life easier for professionals then, and consumers now. Follow the steps below, to get the look easily and quickly.
Step 1: Wash your hair and completely dry them – either air dry or a blow dry.
Step 2: Comb your hair and section the top half from the bottom. Heat up the crimping iron alongside. Also apply a heat protective spray.
Step 3: Hold a 2” section tightly from the end, and clamp the strand from as near the scalp as you can. Hold for 2-3 seconds and repeat for the entire length.
Step 4: Repeat step 3 for other sections too. Keep in mind to mildly crimp the strands sculpting the face for a softer look.
Step 5: Finish with a hair spray to keep the crimps intact.
Hair Straightener / Flat iron
Yes you can achieve the same look with your flat iron too! So if you do not own a crimping iron – below is your go-to guide.
Step 1: Wash hair and dry completely just as instructed above.
Step 2: Section the hair same way as above and apply a heat protective spray.
Step 3: Clamp the top of a 2” section of your hair between the flat heating plates and rotate the iron slightly towards your head.
Step4: Clamp the section just below and rotate in opposite direction- slightly away from your head. This would create wave like crimps, with one section appearing raised and the other sunken.
Step 5: Finish at the end of the section by clamping the end and moving the iron in a way to contract the strand towards the scalp.
Step 6: Repeat the process for all the sections and finish off with a hair spray.
Tip: To style your crimped hair, you could put pretty pins in them for an edgy romantic look or wear a statement hair band.
Image: Shutterstock.com
