If you too are among the league of women who ardently crave to bear prim and polished hands and nails, but have literally no time to spare for your beauty salon extravaganzas! Read on! As this write-up is strictly meant for those who save no time for themselves after hours of performing home and office chores.
Ladies, boasting those ten-on-ten well manicured fingernails and arms is no more a matter of spending hours at the beauty hot-spots. Instead, just devote a few minutes from your bathroom jobs to manicure your hands and bring back the lost beauty of your hands. The article brings you some of most doable home manicure steps straight from the experts that can render the same rich and exotic look for your hands that you’ve always yearned for.
Here’s how to do home manicure in the most simple way, in the comfort of your home and within a few minutes. The entire process is divided into the preparation and performance which should not take more than 45 minutes of your precious time.
Preparation
Collect your tools
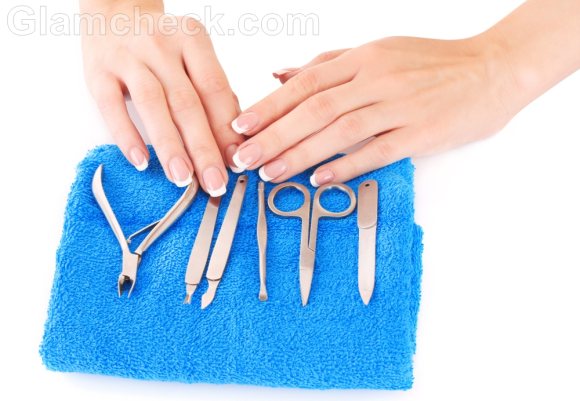
- Nail filer- This tool is important to properly shape, file as well as shorten your nails.
- Small bowl- This tool can be of multiple purposes, one of them being storing of creams, oils or water.
- Nail buffer- This is a rectangular foam based block essentially used to smooth or even out the uneven areas on the nail.
- Cotton balls- This is used for removing the applied nail polish.
- Q-tips
- Hand soap
- Orange stick- This is yet another important tool essentially used to clean out the dirt from underneath the nails and also push back the unwanted cuticles.
- Towel- for wiping the hands and fingers during the performance of the manicure procedure.
- Nail polish
- Top coat- Top coat is basically applied over the actual nail polish for rendering shine to the nail color.
- Hand lotion- for massaging the arms, hands and fingernails
- Nail polish remover
- Cuticle remover
It is important to note that most of the above mentioned tools requisite for manicure are easily available with any drug store or beauty shop.
Choose your nail paint
It is important to select the nail color that complements the tone of your skin. Choosing the wrong color for your skin can literally undo the effect of all the efforts that you have put in to give yourself a nice manicure.
For people with fair skin– Must choose shades that have red undertones. Blue and pink undertones are also good for selecting the nail paints.
For people with dark skin-Bold color is the right shade to choose as it really shows well on the skin. Shades like cobalt blue and strong red are the right shades.
For people with Olive skin- People with this tone are recommended to choose shades that have golden and yellow undertones. Coral is a nice option for such people.
Nail paints that go with the season
During winter and fall, darker colors look the best.
During summers and spring, bright and light shades complement the skin the best.
However, there are no predefined sets of rules to follow. There is literally no right manner for choosing the right nail paint for yourself. You may choose to wear a shocking pink color as well in the middle of December month. However, just make sure that the color you apply complements the tone of your skin.
Performance
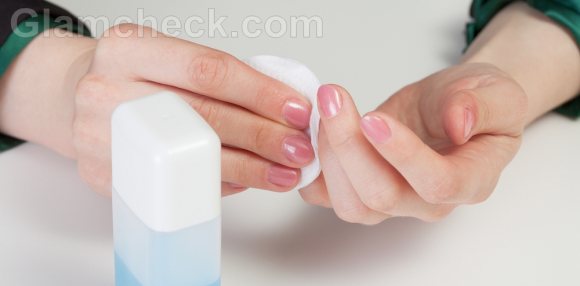
- First and foremost, it is important to remove the traces of the previously applied nail polish with a nail polish remover. Always use a cotton ball to soak some acetone or nail polish remover and then apply the ball over the nails. Never soak your nails into the acetone, as doing the same make your nails rough or spoil their tone.
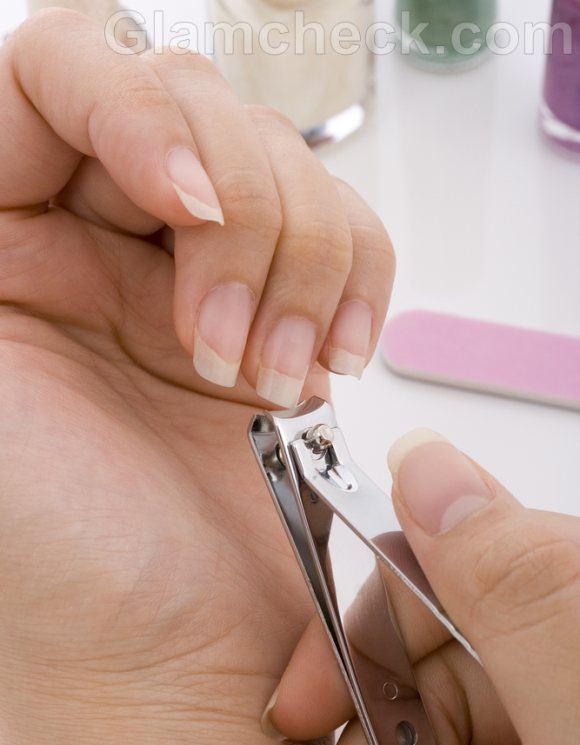
- Now, as recommended by most of the experts, it is better to file or shape your nails with the help of a filer. Or else, cut the nails with the help of a nail cutter. All this must be done before soaking your nails into the water. This is so as the nails when immersed into the water becomes extremely soft and extremely prone to damages. Cutting or shaping the nails after they have become soggy may make them vulnerable to breakage or chips.
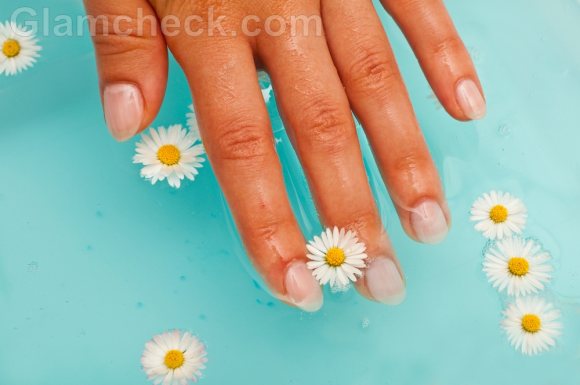
- Next step is the soaking of nails in the water mixed with hand lotion and mild soap for 15 minutes. Soaking is necessary so as to get rid of the excessive cuticles grown on the nails. Always avoid using extreme soapy detergents and over-soaking of the nails so as to dryness or damages of sorts on the skin.
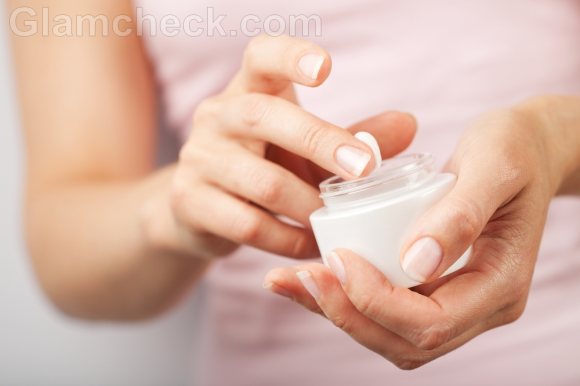
- Now use a moisturizer or a hand lotion and massage the same through your arms, hands and not to forget, your fingernails. Then apply the special cuticles cream which works great at pushing the cuticles back.
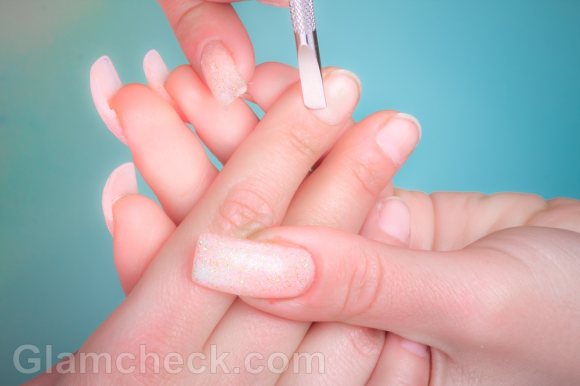
- Remember never cut the cuticles with a nail cutter as doing the same may cause damages to the skin.
- Use a scrub, preferably a sugar based scrub to massage your arms, hands and fingernails. After scrubbing, use a flat pumice stone to remove away all the dirt accumulation on your hands and fingers.
- The next step is to wipe the moisturizer and oil traces present on your arms and hands with the help of a fresh and dry towel. Before jumping on to the next step of the application of the nail paint, remove all the traces of oil and moisturizers on the skin.
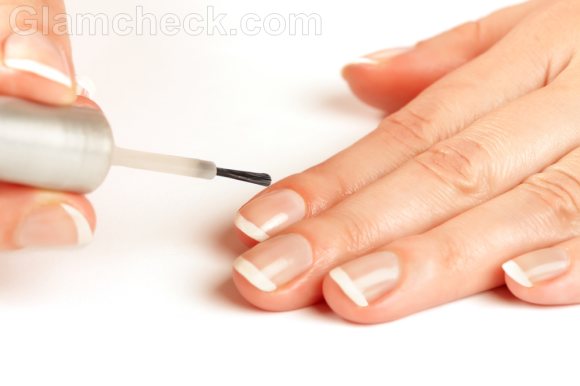
- Apply the nail paint and polish the nails in form of layers. Allow the earlier coat to dry completely before applying the second coat. Once the base nail paint has been applied, apply the top coat. Read how to apply nail polish.
- Allow your nails to dry naturally. Never use a blow dry to dry your nail paint. The use of excessive heat leads to the expansion of the nail paint which may consequently get removed from the nails.
Other than the above measures, regular touch up of the nail paint with the top coat as well as follow up of certain precautionary means may prolong the life of the applied manicure.
Image: Shutterstock
