We can all confess guilty of having things in our wardrobe that are bought on a whim, and never really used afterwards. One such commodity in mine is my tangerine sneakers that I bought on a bargain price last season. They still look new since they have been worn only 2-3 times in their lifetime. (And also because I washed them first for this DIY!)
I don’t know about you, but I always get this urge to re-invent these unfortunate items so that they could prove to be useful in the world, or well just be useful for me. These sneakers in particular started to look too plain and without any character to me, even though they had a very bold color as some of you might argue.
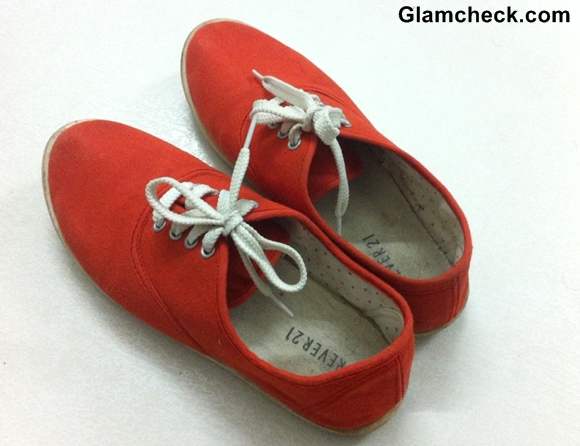 DIY- Transform your Boring Sneakers into Statement Sneakers
So my agenda today is to give them some character and hopefully induce a new longing in me to pair them up with my outfits in the future. You can DIY to any of your sneakers and even ballerinas if you wish. I am going to paint them and also in tune with the current love for all things spiky and shiny – I will put some metallic embellishments on it. So let’s begin!
Difficulty: Medium
Time: 1 to 1.5 hours
Things required
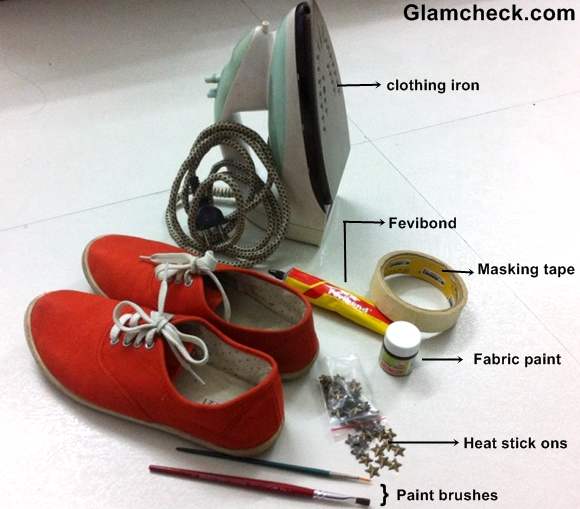
- Canvas shoes – the fabric can withstand heat, leather/ faux leather not recommended.
- A clothing iron – Preferably with heat control options
- Fevibond
- Fabric paint – I have used Fevicryl’s Hobby ideas Acrylic color in black
- Paint brushes – One flat one round (No. 0)
- Heat stick ons – I have used star shaped in antique gold finish, bought them in a store selling rivets and sequins in an industrial area.
- Masking tape
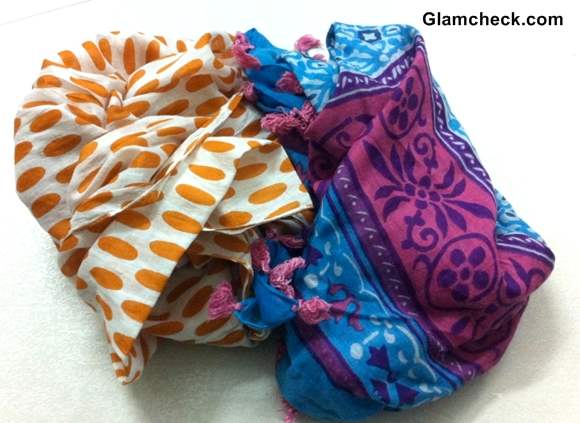 Additionally 2 piece of cloth in cotton. I have used my stoles for the purpose.
Part 1- Paint
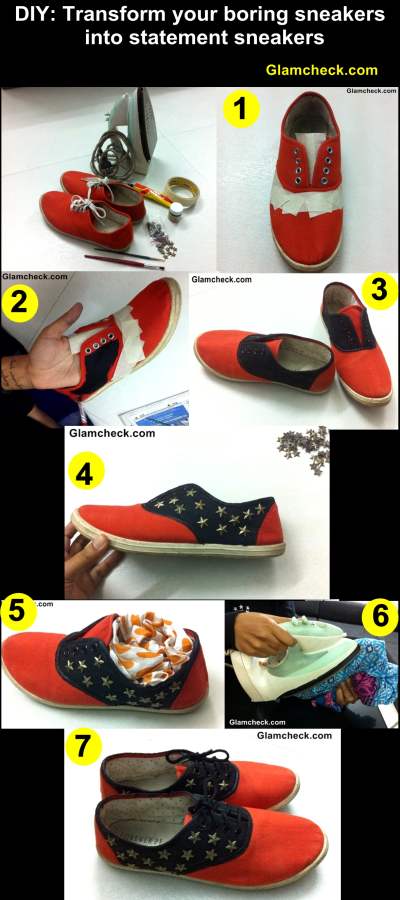
Step 1) Decide on which parts of the sneakers you are going to paint. I used the construction of the sneakers as a cue. The seams defined different areas of the shoe and I picked to paint the middle area. Also pull out the laces and keep aside.
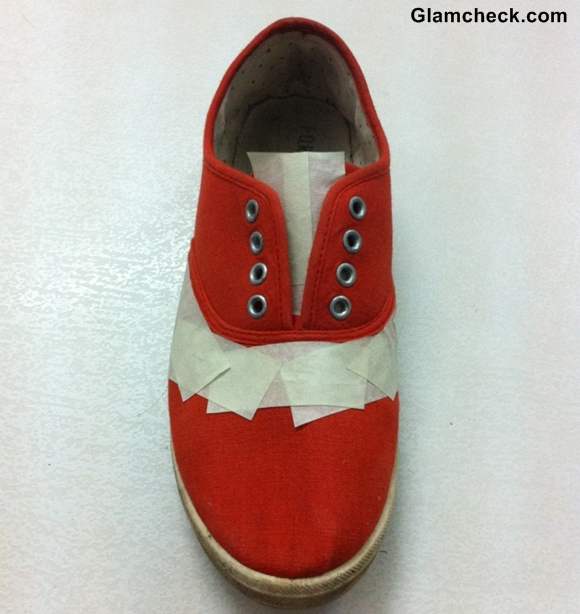 Step 2) Since we are no artists and our strokes are uncertain, the masking tape is our best friend. So I tape the nearby areas to where I will paint. Now since you would notice the color of the eyelets is silver while the stars that I will be using are gold. So I would paint them too. And in case the paint comes off in future I will use a permanent black marker for sure!
Step 3) Paint away now, paying close attention to when you are close to edges. At the edges I used the round brush instead of the flat one to achieve more precision.
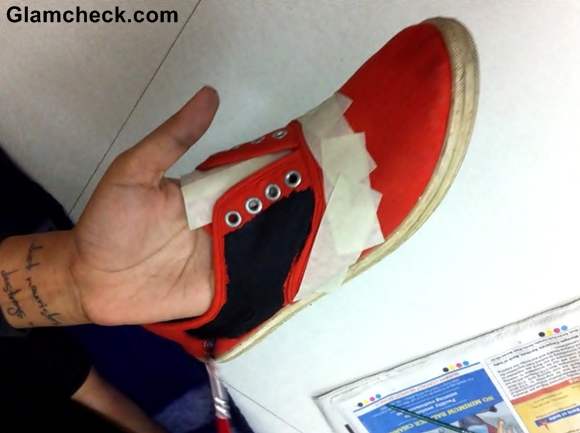 Step 4) After I am done painting I take off the tape. I have not painted the back portion, again using the construction lines as a guideline. Look at the image to see how.
Quick Tip: Use a newspaper to prevent your work surface getting spoiled and also for keeping paint dipped the brushes when not in use.
If not happy with certain spots in the paint, retouch carefully with the round brush as you have no masking tape to protect you now.
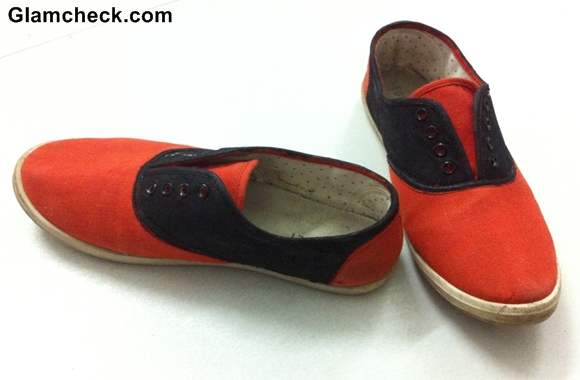 Let the paint dry off for a while – watch T.V. or even better read Glamcheck!
Part 2: Stick –ons
Step 1) Since this is not a flat surface I would be pasting on, I use the help of a little Fevibond. In case you were living under a rock, heat stick-ons can be pasted onto fabrics just by application of heat, here we use a clothing iron.
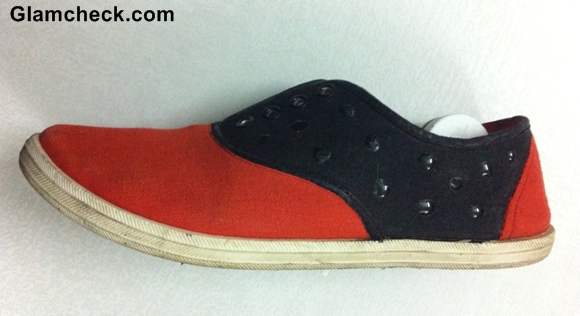 Step 2) I want the stars on black so I dot one side of my shoe with Fevibond. Don’t put an access, and if you do wipe a little with your fingers. The density would depend on your likeness.
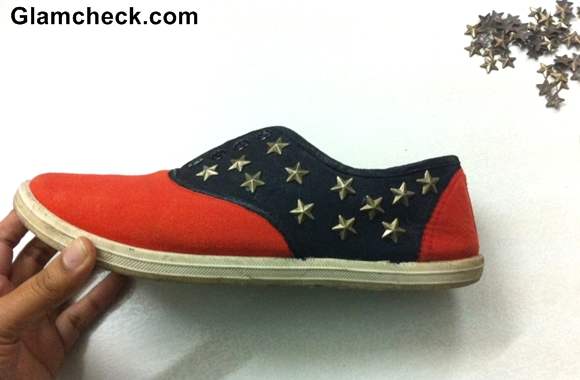 Step 3) Wait for it to dry a 30 seconds (all adhesives including fevicol work better this way) and press those stars slightly on the glue, just for them to hold their place.
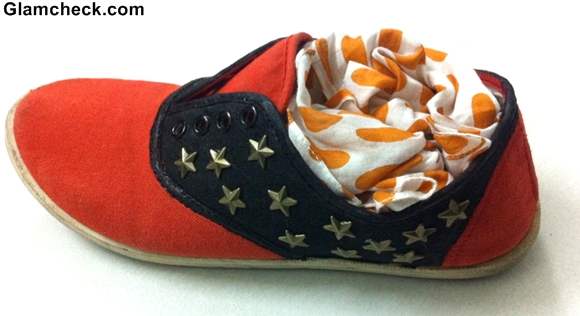
Step 4) In order to iron on these shoes, I stuff them with cotton fabric so that they don’t bend inside while I apply pressure.
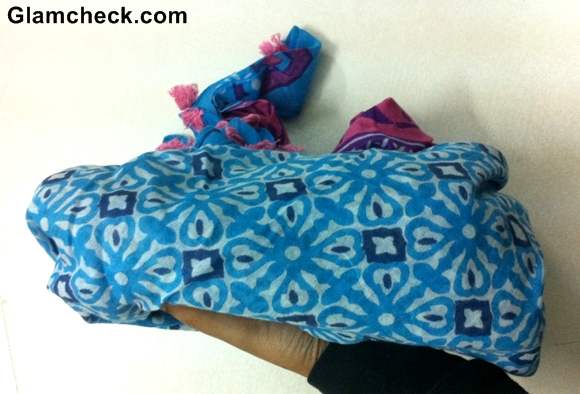
Step 5) Next I cover them up with another cotton cloth- two layers to be precise.
Step 6) Next heat up your clothing iron. I tried on the minimum heat setting first, and it took me around 5 minutes to stick them. Later I braved to a medium setting and it was done in a minute.
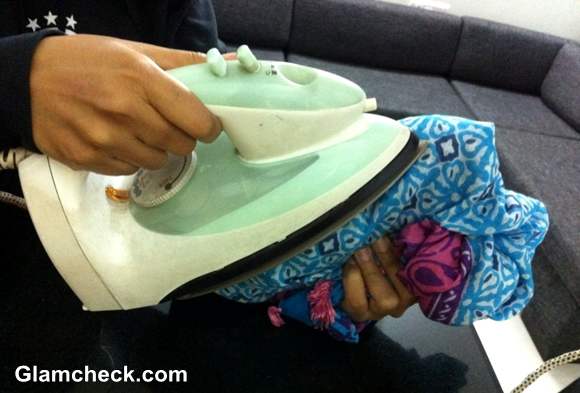 Step 7) The technique is to hold the iron in one spot till about 10 seconds and then move to the next one and repeat. Be careful not to burn the fabric or your hands.
Step 8) You could check the stars by keeping the iron aside and lifting the fabric. If they are sticking a little and you a little melted liquid. Keep the shoe aside to cool off and it will stick.
Step 9) Repeat the process (steps 1 to 8) for all the symmetrical part of your shoe and the other shoe too.
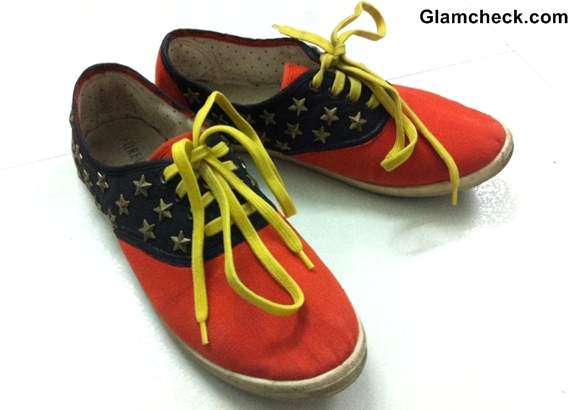
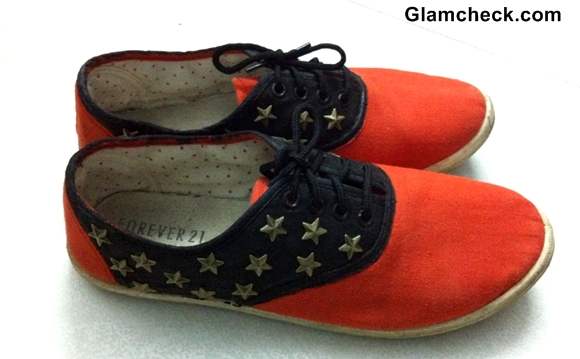 Hooray! We are done. I got myself new black laces from the cobbler since the white ones won’t do anymore.
So now we have new color-block sneakers in tangerine and black, perfect for holiday season and otherwise too. I would wear it on a gloomy day to lift up my spirits. The styling options will not be restricted to denims and sweatshirts. Instead I would love to pair them up with black leather pants and a white shirt. Tossing a classic look with current trends is definitely my cup of tea.
Could not get my hands on tangerine laces, but in complete exhilaration tried the fun yellow ones on. Maybe when Tommy Ton comes to India or I decide to attend a Manish Arora show in my sneakers, I shall choose the yellow laces!
 So give your old shoes another shot and a chance to yourself to fall in love with them all over again.
DIY: Transform your Boring Sneakers into Statement Sneakers- Quick Recap
Glamcheck.com
